Refactoring our code can be extremely tedious and repetitive, so much that sometimes we think it’s not worth it. However, many of these refactors can be automated. In this post, we’ll see how with 4 examples.
To make things easier we are going to use ts-morph which will provide us an API to navigate and modify our Typescript code.
To get started we are going to make a folder with a package.json file and then we install ts-morph.
1 | npm install --save-dev ts-morph |
Also we need to install ts-node which will allow us to run Typescript with Node.
1 | npm i --save ts-node |
We are now ready to start configuring our refactor script.
We can add the path to our tsconfig.json with tsConfigFilePath but ts-morph will use the files in our tsconfig.json. A way around this is to use skipAddingFilesFromTsConfig.
1 | import { Project } from 'ts-morph'; |
Next, we will indicate in which files we want to run the script. We can bypass this step if we want to use the ones in the tsconfig.json.
1 | project.addSourceFilesAtPaths('src/**/*.ts'); |
Example 1: edit an interface
In this first example we want to remove the _id property from our interface and add id.
This is the file that we want to refactor.
1 | interface Test1 { |
The script result will transform the file content to this:
1 | interface Test1 { |
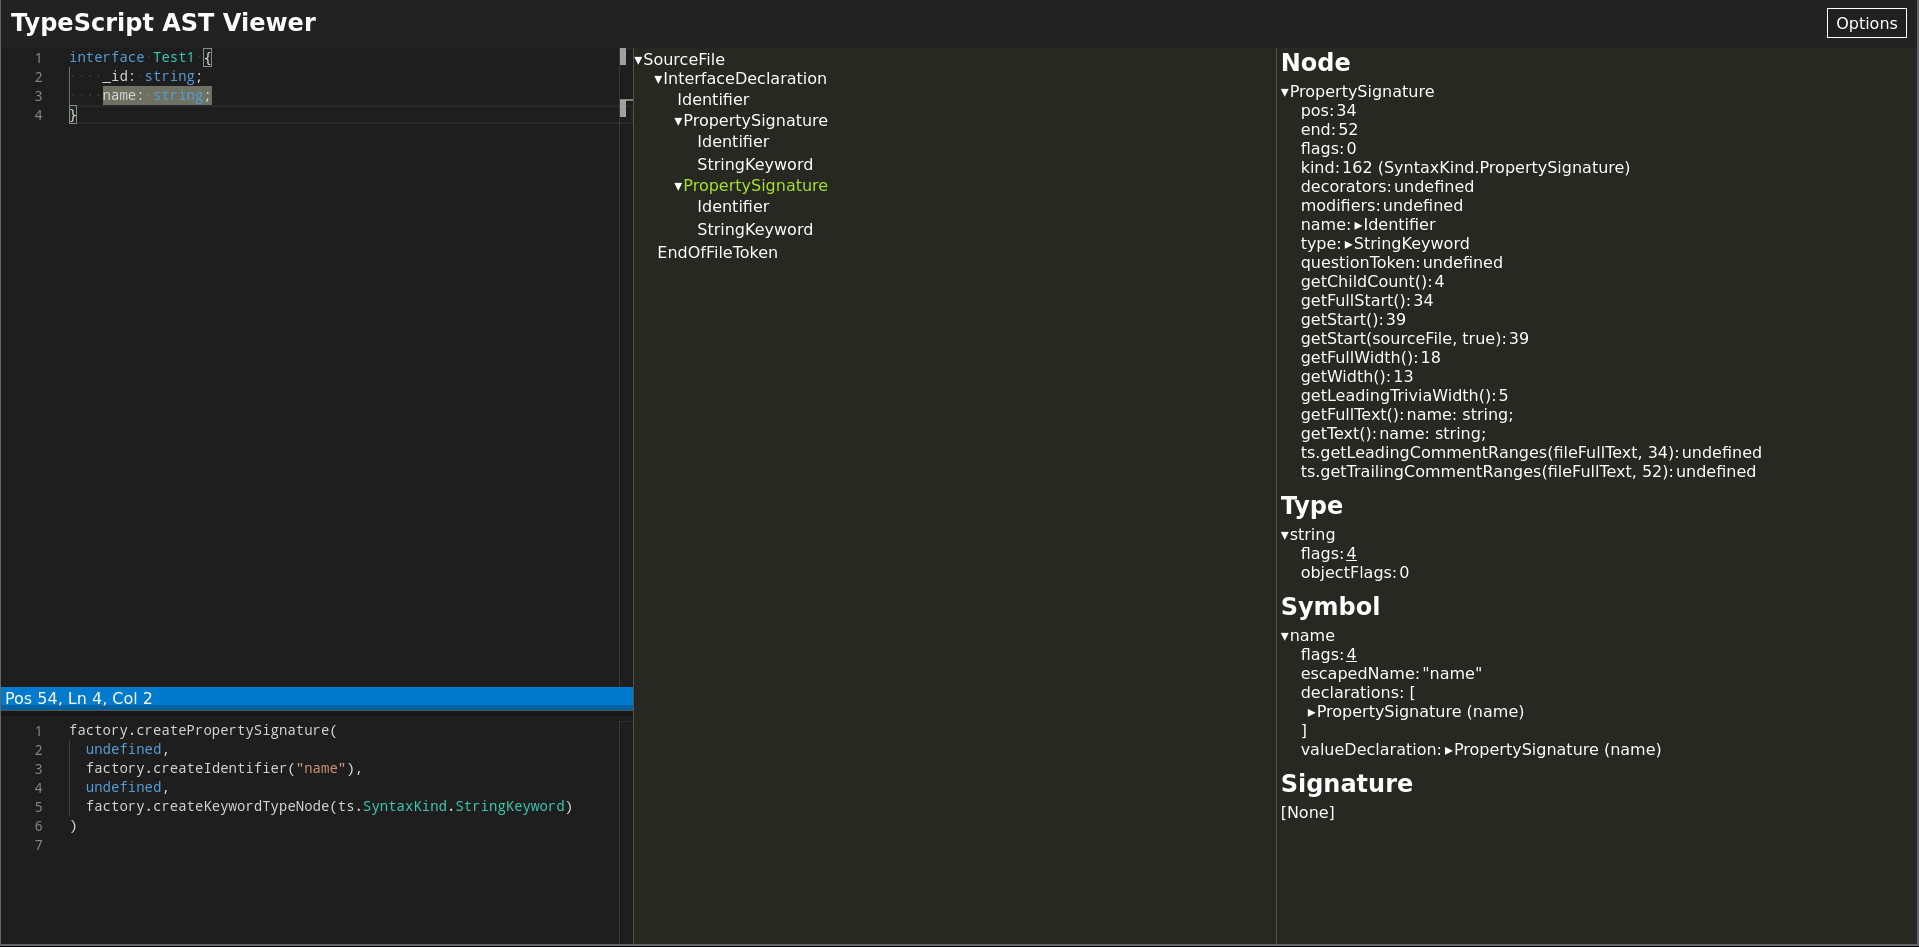
Before starting it’s recommended to use ts-ast-viewer which shows us the code AST. This may help when we’re using ts-morph to understand the structure of the code we’re refactoring.
This is the AST code from the previous interface:

We’re going to start with the code that will refactor the Test1 interface.
We create the file example1.ts. Next, we configure the project as shown and with getSourceFiles we go through every file.
1 | import { Project } from 'ts-morph'; |
For each file we look for interfaces with getInterfaces and we go through them.
1 | project.getSourceFiles().forEach((sourceFile) => { |
We check if the interface contains _id, if so we will delete it and add id.
1 | interfaces.forEach((interfaceDeclaration) => { |
To start the refactor we run the command npx ts-node example1.ts. If everything has gone well we will see that the file has been modified as expected.
Example 2: find and replace a variable
The goal in this example is to modify the content of the name variable and add a console.log, but we are only going to do it for variables that are inside a constructor in a class inherited from ParentTest.
1 | class Test extends ParentTest { |
After running the script:
1 | class Test extends ParentTest { |
The first thing we are going to do is look for the constructors that meet this criteria, those that are inside a class inherited from ParentTest. To do this, we will use the following code:
1 | import { Node } from 'ts-morph'; |
If we have found the constructor that we were looking for and if the name variable exists, we will replace its content and add the console.log.
1 | if (classConstructor) { |
Example 3: only allowing one class per file
In the next example, we will search a file to see if it has more than one class and if so we will take any extra classes and move them to different files.
1 | project.getSourceFiles().forEach((sourceFile) => { |
Example 4: rename a class and all its references
For this example we have two files, one with the class Test that we want to rename:
1 | export class Test { |
And the one where it’s kept:
1 | import { Test } from './example4'; |
What we want to do is rename the class Test to Hello and rename every import. The result should be this:
1 | export class Hello { |
1 | import { Hello } from './example4'; |
This code will resolve the problem:
1 | // We look for and go through the file classes |
Conclusions
With ts-morph you can see it no longer matters how many changes we have to do in a refactor. Program those changes will save us hours / days of repetitive work. Mastering it is definitely worth it.
Also, although we have not seen it in the examples, we can analyze the code to create our own linters.
More information in the official documentation.
